
Contact us! +370 604 15255 I–V 11:00–18:00
SurRon & Talaria Tuning - Batteries - Performance Parts
Contact us! +370 604 15255 I–V 11:00–18:00

My FabiRideSet up your
Dash Pro

You have the display in your hands. Six steps put it on the bars, on your account and on the road. Nothing on the bike is cut, drilled or reflashed to fit it.

Free on both. One account holds every bike, battery and rider, and the same account opens the web at my.fabiride.com.

The remote · minus, plus, power

Six steps, bike on its stand

The display takes 12 V to 98 V straight from the bike and works on its own - no phone needs to be present for the bike to ride. Tick a step off as you go; this page remembers where you stopped.

On the bars nowDisplay and remote, not powered yet
Step 01 · on the bar0 / 6 done

Step 01Fit it to the bar

The display goes on the bar bracket and the remote on its own clamp, within thumb reach. Two leads run from the display to the controller. Route both clear of the steering and the forks, and check the bars turn lock to lock before you tighten anything.

Wiring is a competent-person job

Work involving the bike’s throttle, brake or controller wiring should be carried out by a competent person. Incorrect wiring can cause loss of power or unintended acceleration. Set everything up with the bike stationary, and after any wiring change re-run calibration and check throttle and brake behaviour with the rear wheel off the ground.

Find your machine

Open your bike for the installation video where one exists, and for what that machine needs you to know when you reach the setup wizard.

Sur-Ron Light Bee XVideo
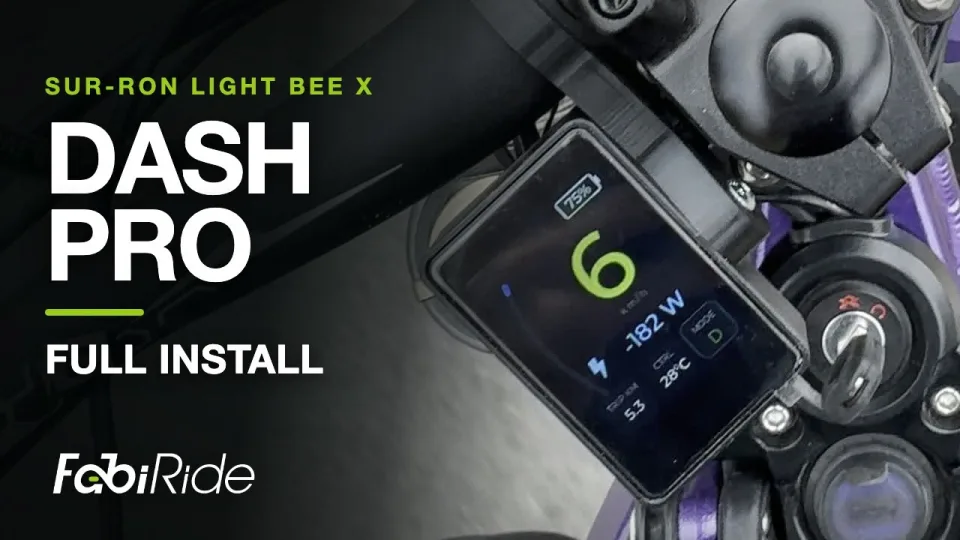
In the wizard, pick SurRon as your controller family. The bike is a Light Bee X, 2025 or earlier.

ECO and SPORT switch from the display itself, with the plus and minus buttons or from the app. You no longer reach for the bike’s own switch, and the controller’s stored configuration is never rewritten.

Sur-Ron builds differ: the throttle may run through the display, or straight to the controller. The wizard asks which. Your answer decides whether traction control, cruise and the throttle curve are available.

The power button turns the display on and off, not the bike. The controller is live whenever the battery is connected.

Talaria MX4 · Sting RVideo
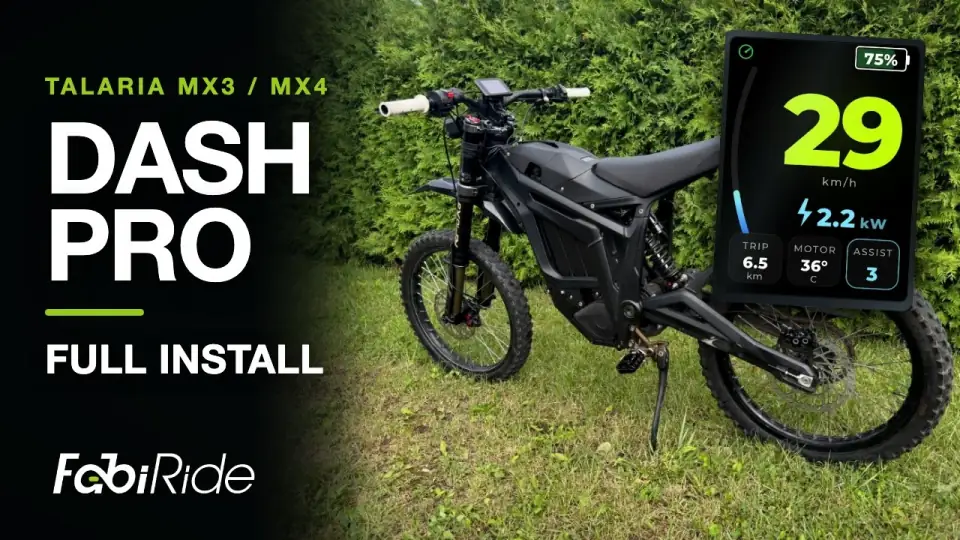
FabiRide Dash Pro on the handlebar of a Talaria Sting, title card of the MX3 and MX4 installation video.

The video shows the whole fit, step by step: the stock display and throttle unplugged, Dash Pro and its buttons on the bar, the harness plugged in line with the stock connectors, and the first switch-on. Nothing on the bike is cut.

Every plug carries an arrow: line the arrows up and push each plug fully home. The green pair goes in line with the throttle. The yellow pair is for a regen thumb throttle, only if the bike came with one from the factory; otherwise leave it unused and tie it in neatly.

In the wizard, pick Talaria. The model is detected automatically and you can override it if the bike is misidentified.

Riding modes are ECO and SPORT. Every slider is bounded by the model’s own ceiling, so a setting can never ask for more than the motor can give.

On the remote, plus and minus change the regen level; a double-press of plus moves to the next riding mode.

Talaria MX5Written guide

Fitting and the wizard are as for the MX4: pick Talaria and let the display confirm the model.

The MX5 carries a third riding mode, HYPER, alongside ECO and SPORT.

Its brake always runs through the display, which is why wheelie control, drag anti-flip and the brake curve are available on it. The XXX gets them too when its brake is wired through the display.

Talaria MX3Video
FabiRide Dash Pro on the handlebar of a Talaria Sting, title card of the MX3 and MX4 installation video.

The same video covers the MX3: the fit, the plugs and the wizard are as for the MX4. Pick Talaria; the model is detected for you.

Riding modes are ECO and SPORT, and the sliders follow this model’s own power ceiling.

Talaria X3 · XXXWritten guide

Fitting and the wizard are as for the MX4. Pick Talaria; the display tells the XXX apart from the rest of the range on its own.

Riding modes are ECO and SPORT.

If its brake is wired through the display, wheelie control, drag anti-flip and the brake curve are available too. The wizard asks.

Talaria KomodoWritten guide

Fitting is the bar bracket, the remote clamp and two leads to the controller, as above.

In the wizard, pick Talaria and let the display confirm the model before you go on. If the bike is misidentified you can set the model by hand.

Wheelie control, drag anti-flip and the brake curve need the brake to run through the display. The Komodo’s brake runs to its own controller, so you will not find those three on it. Everything else is the same.

Torp kit · TC500, TC1000Written guide

Fitting is the bar bracket, the remote clamp and two leads to the controller, as above.

In the wizard, pick Torp - not SurRon or Talaria. The kit is bolted to a Sur-Ron Light Bee, an Ultra Bee or a Talaria MX3, MX4 or MX5, so it is easy to reach for the bike instead of the controller.

Everything the controller reports is shown, and the riding mode and reverse switch from the bars. Its stored configuration is left exactly as it is.

Traction control, cruise and the throttle and regen curves work when the throttle, and for the brake features the brake, run through the display; the wizard asks. Wheelie control and drag anti-flip are switched on after a wiring check.

EBMX kit · X9000Written guide

Fitting is the bar bracket, the remote clamp and two leads to the controller, as above.

In the wizard, pick EBMX. The kit sits on a Sur-Ron, a Talaria or a custom e-moto, so pick the controller rather than the bike.

Street and Race switch from the bars, and everything the controller reports is shown. Its own configuration stays as you set it in the EBMX app.

The speed limit, traction control, cruise and the throttle and regen curves need the throttle, and for the brake features the brake, to run through the display; the wizard asks. Wheelie and drag assist catch the bike with regen, so set regen strength to maximum in the EBMX app.

Sur-Ron Ultra BeeWritten guide

The Ultra Bee’s factory controller is not supported yet. Dash Pro works on an Ultra Bee fitted with a Torp, EBMX, ASI or VESC controller.

In the wizard, pick the controller you fitted, not SurRon. The Torp and EBMX entries here have the notes for those two.

Bafang · BBS01, BBS02, BBSHD, M-seriesWritten guide

Dash Pro takes the place of the Bafang display: the bracket goes where the old display was, and the lead plugs in where it did.

In the wizard, pick Bafang. Assist levels, pedal assist settings, lights and walk assist work from the bars and the app, and the speed limit is written into the motor’s own settings.

The throttle is wired to the motor, so the rider assists are not offered on a Bafang.

MATE XVideo
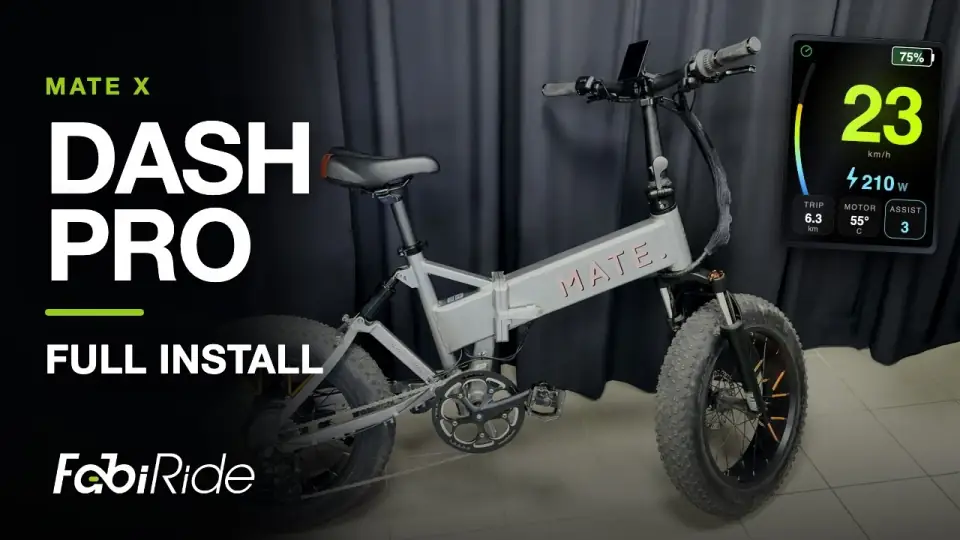
FabiRide Dash Pro next to a MATE X folding e-bike, title card of the MATE X installation video.

The video shows the whole fit on a stock MATE X, step by step: the cable sleeve opened, the stock display and buttons off, Dash Pro and its buttons on the bar, the harness plugged in between the stock connectors, and the sleeve closed again. Nothing on the bike is cut.

Every plug carries an arrow: line the arrows up and push each plug fully home. The green marks are the display connector, the yellow marks the two throttle connectors. Tuck the connections into the bundle before you close the sleeve.

In the wizard, pick MATE as your bike, then the controller on it: the grey box it came with, or the green ASI BAC855 if it has been converted.

Everything Dash Pro does on a MATE X, controller by controller, with the eight install steps, is on the MATE X display page.

Assist levels, pedal assist settings and lights work from the bars. The ASI conversion also opens the controller’s own settings.

Another machineWritten guide

The bracket clamps to any handlebar and the leads reach the controller the same way, whatever the bike. Fitting does not change.

What changes is the first question in the wizard: pick your controller family. The display and the controller then verify they are talking before you go any further, so you find out immediately if the choice was wrong.

Every supported bike is on the supported bikes page, and every screen and setting is in the user guide.
Step 02Power on

Hold the power button for a full three seconds. The FabiRide logo appears, then a welcome message asking you to install the app. That message is what your screen should look like now.

On Sur-Ron and Talaria the controller is live whenever the battery is connected, so the power button turns the display on and off - it does not switch the bike off.

Step 03Get the app and make an account

Install FabiRide on the phone you ride with, then sign up with your name, email, phone number and country. One account holds every bike, battery and rider you will ever add, and the same account opens the web at my.fabiride.com - there is no second sign-up.

No Bluetooth prompt yet? That is normal

The app does not use Bluetooth at all until you are signed in, so a fresh install asks for nothing before then. It is not a fault, and nothing is wrong with the display.

Step 04Pair the display

In the app, open Garage, tap plus, then Connect. Your display appears in the list by name; tap it. There is no code to type and nothing to hold down - the serial number is read automatically.

The moment it pairs, the welcome message on the bars changes to Phone connected - complete setup on the phone. That is your confirmation, on the hardware, that the two have found each other.

Step 05Register it

The app moves to registration on its own. Pick the shop you bought from, enter the invoice or order number, and attach a photo of the invoice.

Registration is not paperwork for its own sake. Your 24-month warranty, your firmware updates and rider sharing all hang off it, and it stops anyone else claiming the same display.

Step 06Run the setup wizard

Twelve steps, and you will not see all of them - the wizard shows only what applies to your bike. It ends with you naming the bike, and the dashboard comes up.

Steps 1 to 5

Family, model, handshake

Pick your controller family, confirm the bike model the display detected, and watch the display and the controller verify they are talking.

Steps 6 to 9

Throttle and brake

Confirm whether each runs through the display, then calibrate: twist or squeeze fully and release, three times. Hub-motor kits skip all four steps automatically.

Steps 10 to 12

Wheel, units, dashboard

Wheel size - on moto wheels give rim plus tyre, never a nominal inch figure - then km or miles, then the dashboard design you want on the bars.

Interrupted? Nothing is lost. The wizard re-runs any time from More, then Setup wizard, pairing can be redone from the Garage, and everything already saved is kept.

The three buttons

Left to right on the remote clamp: minus, plus, power. Everything below happens on the bars, with or without a phone nearby.

Remote controls
Press What it does
hold 3 s Display on or off
press Next screen, or wake it
double-press Open or close music
+ press Assist or regen level up
− press Assist or regen level down
− press 3× Reverse on or off, where the bike supports it
+ double-press Next riding mode on Talaria: ECO, SPORT, HYPER
+ hold 2 s Lights on or off
− hold 2 s Cruise control on or off
−+ hold 5 s Reset the trip counter
−+ hold 3 s Acknowledge a throttle or brake fault
− hold 3 s Cancel a crash alert. It pauses while you hold

Swipe the screen

Down for statistics, then tap BIKE or BATTERY. Up for music. Right to left for wheelie tuning. Swipe the opposite way to come back. Wheelie tuning and the detailed bike and battery pages appear on the bikes that support them.

Music and calls

On the music screen the minus and plus buttons skip tracks and holding either changes the volume. An incoming call appears on its own: plus accepts, minus declines, and minus ends it. First time only, grant the app notification access and switch on show on display.

Read this before you ride

What is worth knowing on day one. The full notices are in the user guide.

Water, washing and IP51

Sealed against dust and against water falling straight down, which covers dew, drizzle and a few drops. It is not sealed against heavy rain, spray or washing, and water damage from those is not covered by the warranty. Keep a hose and a pressure washer away from it, and before a wet ride or a bike wash, cover the display or lift it off the bracket.

Raise speed limits and power aggressiveness control gradually

Changing a speed limit or power aggressiveness control changes how your bike behaves. Raise settings a step at a time and test in a safe, open area away from traffic. Open settings are for closed roads, private land and off-road use, and riding within the rules of your country is your responsibility. Raising a limit may affect insurance, registration and warranty.

Rider assists reduce risk, they do not remove it

Wheelie control, drag anti-flip, traction control and cruise depend on sensors and are affected by conditions, surface, load and setup. Never rely on them to keep you safe. Wheelie and drag assist limit lift, they do not perform a wheelie. Cruise releases when you pull the brake, not for engine braking or regen.

While you ride, stop before you change anything

The display is built to be read at a glance. Never change a setting while riding. Treat the range figure as an estimate and plan a margin: cold, load, terrain and speed all shorten it. Crash detection can raise an alert and call for help, but it cannot detect every incident and may occasionally trigger when nothing has happened. Test your emergency contacts before you rely on them.

If something is wrong

What riders hit on the first evening, and what each one actually is.

First-evening problems
What you see What it is, and the fix
The display will not turn on Hold the power button a full three seconds, not a tap. Then check the power connection at both ends.
The app cannot find the display Confirm you are signed in - Bluetooth stays off until you are. Check Bluetooth is on and permitted, and that the display is powered. If another phone holds control, the display shows a chooser at a standstill; pick your phone there.
A throttle fault that should not be there The wizard’s throttle routing answer is wrong for your build. If the throttle goes straight to the controller, set that in the wizard or in Advanced settings.
The speed reads wrong Check wheel diameter, rim and tyre, and the rear sprocket. On moto wheels use rim plus tyre, never a nominal inch figure.
No temperature shown Not every controller reports it. Check the temperature setting is not switched off.
A code on a full screen: E1 to E10 Codes clear themselves when the fault clears. E1 is no communication with the controller: check the cable at both ends and that the family matches. E5 and E6 are throttle and brake: stop, let both rest, then hold minus and plus together for three seconds. Every code is listed in the user guide.

Search for products

Back to Top
Product has been added to your cart
Compare (0)