

Step 01Fit it to the bar
The display goes on the bar bracket and the remote on its own clamp, within thumb reach. Two leads run from the display to the controller. Route both clear of the steering and the forks, and check the bars turn lock to lock before you tighten anything.
Wiring is a competent-person job
Work involving the bike’s throttle, brake or controller wiring should be carried out by a competent person. Incorrect wiring can cause loss of power or unintended acceleration. Set everything up with the bike stationary, and after any wiring change re-run calibration and check throttle and brake behaviour with the rear wheel off the ground.
Find your machine
Open your bike for the installation video where one exists, and for what that machine needs you to know when you reach the setup wizard.
Sur-Ron Light Bee XVideo
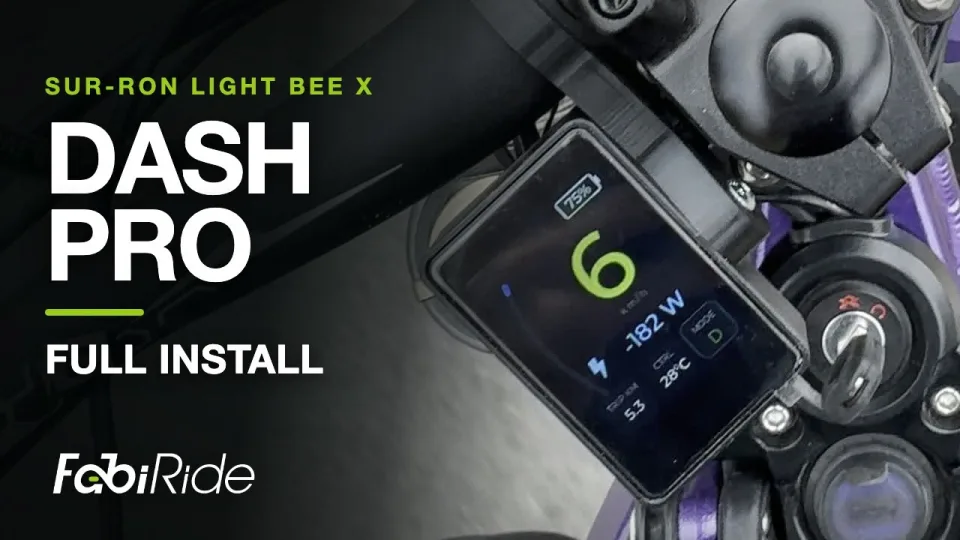
In the wizard, pick SurRon as your controller family. The bike is a Light Bee X, 2025 or earlier.
ECO and SPORT switch from the display itself, with the plus and minus buttons or from the app. You no longer reach for the bike’s own switch, and the controller’s stored configuration is never rewritten.
Sur-Ron builds differ: the throttle may run through the display, or straight to the controller. The wizard asks which. Your answer decides whether traction control, cruise and the throttle curve are available.
The power button turns the display on and off, not the bike. The controller is live whenever the battery is connected.
Talaria MX4 · Sting RVideo
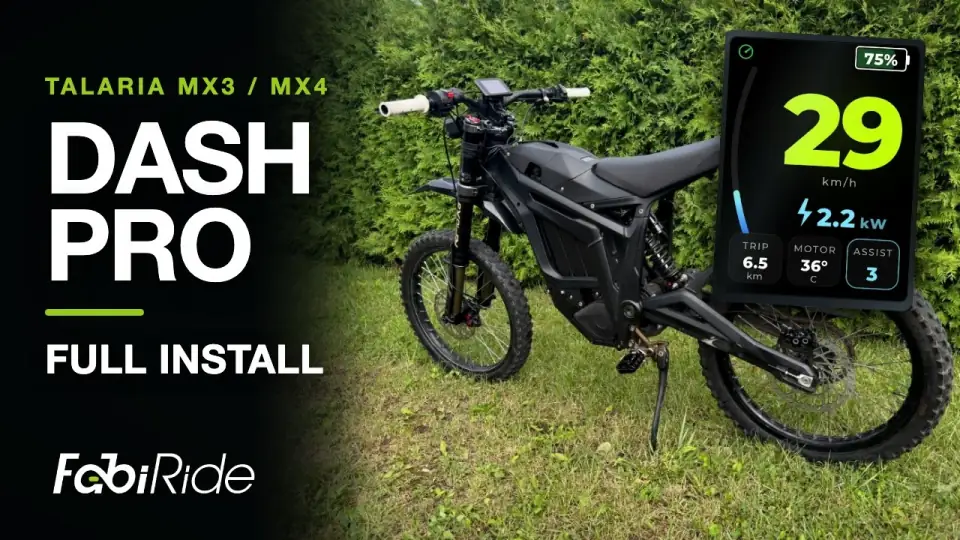
The video shows the whole fit, step by step: the stock display and throttle unplugged, Dash Pro and its buttons on the bar, the harness plugged in line with the stock connectors, and the first switch-on. Nothing on the bike is cut.
Every plug carries an arrow: line the arrows up and push each plug fully home. The green pair goes in line with the throttle. The yellow pair is for a regen thumb throttle, only if the bike came with one from the factory; otherwise leave it unused and tie it in neatly.
In the wizard, pick Talaria. The model is detected automatically and you can override it if the bike is misidentified.
Riding modes are ECO and SPORT. Every slider is bounded by the model’s own ceiling, so a setting can never ask for more than the motor can give.
On the remote, plus and minus change the regen level; a double-press of plus moves to the next riding mode.
Talaria MX5Written guide
Fitting and the wizard are as for the MX4: pick Talaria and let the display confirm the model.
The MX5 carries a third riding mode, HYPER, alongside ECO and SPORT.
Its brake always runs through the display, which is why wheelie control, drag anti-flip and the brake curve are available on it. The XXX gets them too when its brake is wired through the display.
Talaria MX3Video
The same video covers the MX3: the fit, the plugs and the wizard are as for the MX4. Pick Talaria; the model is detected for you.
Riding modes are ECO and SPORT, and the sliders follow this model’s own power ceiling.
Talaria X3 · XXXWritten guide
Fitting and the wizard are as for the MX4. Pick Talaria; the display tells the XXX apart from the rest of the range on its own.
Riding modes are ECO and SPORT.
If its brake is wired through the display, wheelie control, drag anti-flip and the brake curve are available too. The wizard asks.
Talaria KomodoWritten guide
Fitting is the bar bracket, the remote clamp and two leads to the controller, as above.
In the wizard, pick Talaria and let the display confirm the model before you go on. If the bike is misidentified you can set the model by hand.
Wheelie control, drag anti-flip and the brake curve need the brake to run through the display. The Komodo’s brake runs to its own controller, so you will not find those three on it. Everything else is the same.
Torp kit · TC500, TC1000Written guide
Fitting is the bar bracket, the remote clamp and two leads to the controller, as above.
In the wizard, pick Torp - not SurRon or Talaria. The kit is bolted to a Sur-Ron Light Bee, an Ultra Bee or a Talaria MX3, MX4 or MX5, so it is easy to reach for the bike instead of the controller.
Everything the controller reports is shown, and the riding mode and reverse switch from the bars. Its stored configuration is left exactly as it is.
Traction control, cruise and the throttle and regen curves work when the throttle, and for the brake features the brake, run through the display; the wizard asks. Wheelie control and drag anti-flip are switched on after a wiring check.
EBMX kit · X9000Written guide
Fitting is the bar bracket, the remote clamp and two leads to the controller, as above.
In the wizard, pick EBMX. The kit sits on a Sur-Ron, a Talaria or a custom e-moto, so pick the controller rather than the bike.
Street and Race switch from the bars, and everything the controller reports is shown. Its own configuration stays as you set it in the EBMX app.
The speed limit, traction control, cruise and the throttle and regen curves need the throttle, and for the brake features the brake, to run through the display; the wizard asks. Wheelie and drag assist catch the bike with regen, so set regen strength to maximum in the EBMX app.
Sur-Ron Ultra BeeWritten guide
The Ultra Bee’s factory controller is not supported yet. Dash Pro works on an Ultra Bee fitted with a Torp, EBMX, ASI or VESC controller.
In the wizard, pick the controller you fitted, not SurRon. The Torp and EBMX entries here have the notes for those two.
Bafang · BBS01, BBS02, BBSHD, M-seriesWritten guide
Dash Pro takes the place of the Bafang display: the bracket goes where the old display was, and the lead plugs in where it did.
In the wizard, pick Bafang. Assist levels, pedal assist settings, lights and walk assist work from the bars and the app, and the speed limit is written into the motor’s own settings.
The throttle is wired to the motor, so the rider assists are not offered on a Bafang.
MATE XVideo
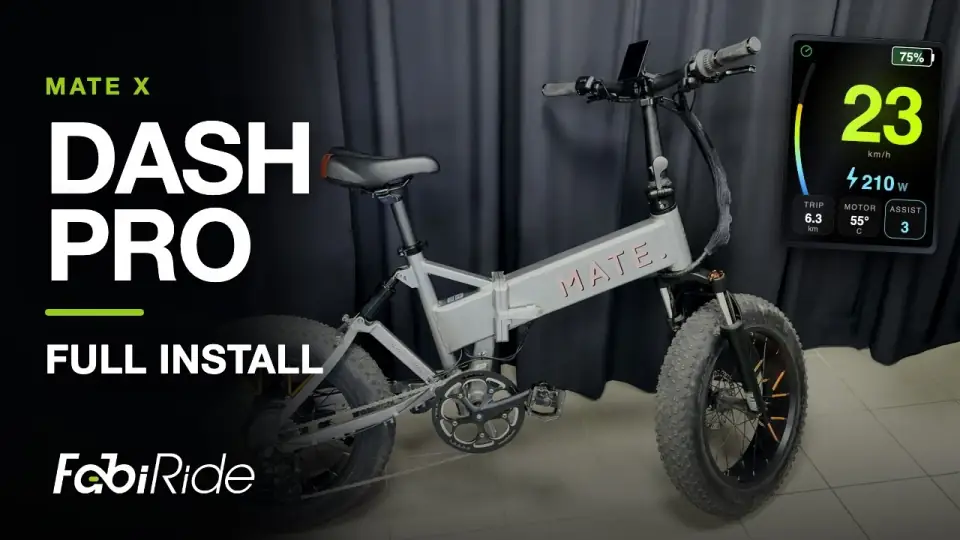
The video shows the whole fit on a stock MATE X, step by step: the cable sleeve opened, the stock display and buttons off, Dash Pro and its buttons on the bar, the harness plugged in between the stock connectors, and the sleeve closed again. Nothing on the bike is cut.
Every plug carries an arrow: line the arrows up and push each plug fully home. The green marks are the display connector, the yellow marks the two throttle connectors. Tuck the connections into the bundle before you close the sleeve.
In the wizard, pick MATE as your bike, then the controller on it: the grey box it came with, or the green ASI BAC855 if it has been converted.
Everything Dash Pro does on a MATE X, controller by controller, with the eight install steps, is on the MATE X display page.
Assist levels, pedal assist settings and lights work from the bars. The ASI conversion also opens the controller’s own settings.
Another machineWritten guide
The bracket clamps to any handlebar and the leads reach the controller the same way, whatever the bike. Fitting does not change.
What changes is the first question in the wizard: pick your controller family. The display and the controller then verify they are talking before you go any further, so you find out immediately if the choice was wrong.
Every supported bike is on the supported bikes page, and every screen and setting is in the user guide.
