



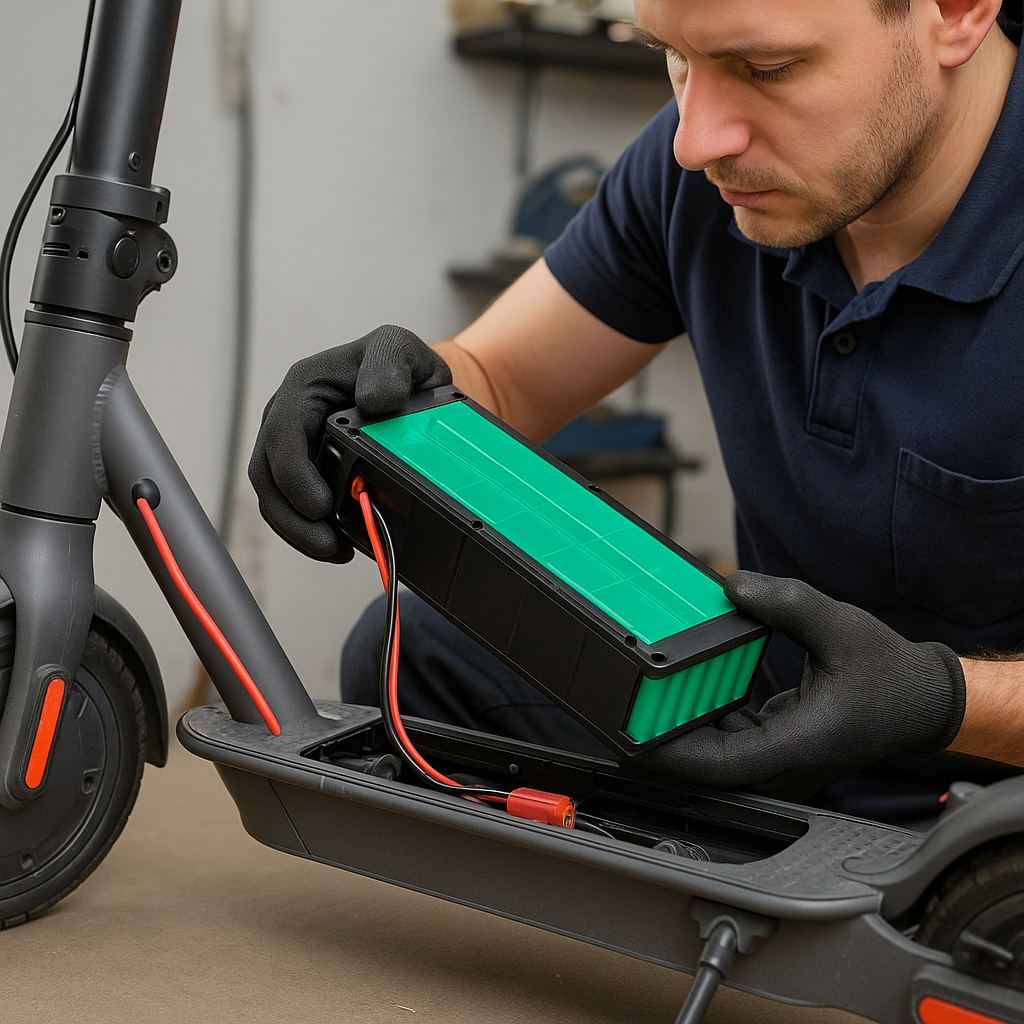
An e-scooter battery is one of the most important parts of this electric vehicle, and over time it can start to lose its efficiency. Most often, after a few years of use you notice a significant drop in range, a longer charging time or even a complete battery failure. Luckily, in most cases there is no need to rush into buying a new scooter: replacing the battery is enough.
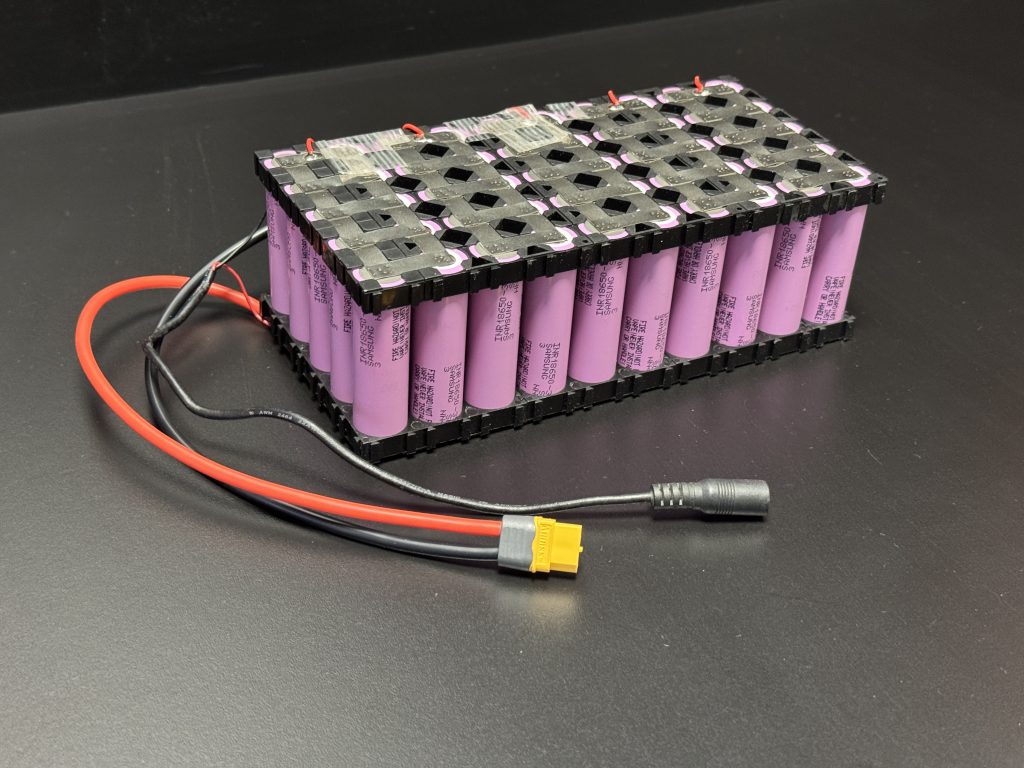
This process may seem complicated, but by following the right steps, many electric scooter owners can do it themselves.
In this detailed guide you will learn how to tell that your e-scooter battery needs replacing, what tools and preparation you need, how to replace the battery step by step, which mistakes to avoid and how to look after the new battery so that it lasts as long as possible.
When and why do you need to replace an e-scooter battery?
The service life of an electric scooter battery depends on various factors. On average, lithium-ion batteries, which are most often used in modern electric vehicles, last from 300 to 500 full charge cycles. Depending on how often you use it, that can mean from 1 to 3 years of intensive use.
The main signs that your electric scooter battery is starting to fail:
- a significantly shorter range on one charge (30% or more)
- a battery charging time that keeps getting longer
- the scooter does not reach its top speed even with a fully charged battery
- the battery drains quickly even when the scooter is not being used
- visible physical swelling or deformation of the battery
- unusual battery heating during use
Charging habits, climate conditions and riding style also affect battery performance. A battery ages faster if you often use the scooter in extreme weather (especially in the cold), leave it fully discharged for a long time, or constantly use “fast charging”.
Preparation and tools needed for the battery replacement
Before you start the battery replacement process, you must prepare properly.
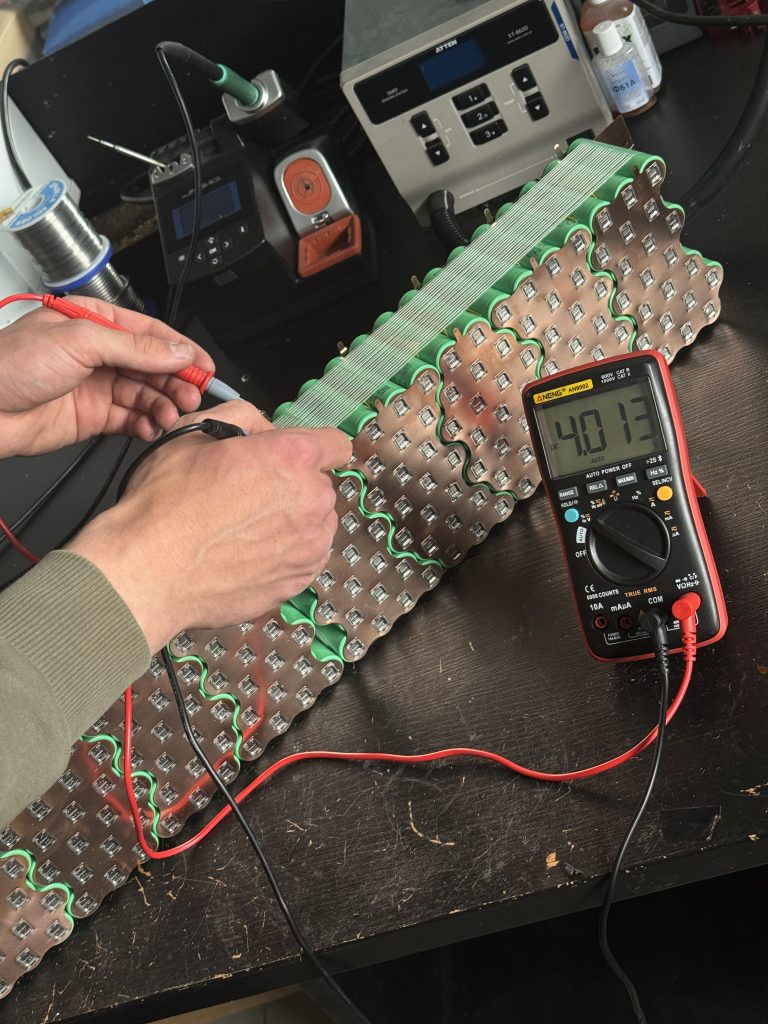
This ensures smooth work and protects against possible safety problems.
Tools you need:
- a screwdriver set (usually Phillips and hex screwdrivers)
- protective gloves (preferably ones that insulate against electric current)
- safety glasses
- a multimeter (for measuring voltage)
- insulating tape
- anti-static equipment (for example an anti-static wrist strap)
- a small screw organiser (so that small parts do not get lost)
Preparing for the job:
- choose a suitable workspace: dry, well lit, with a hard, level surface
- make sure you have a replacement battery of the right model (the voltage, capacity and physical dimensions must match the original)
- disconnect the scooter completely from the charging source
- switch the scooter off and wait at least 10 minutes for the capacitors to discharge
IMPORTANT TO KNOW: Replacing the battery yourself in many cases voids the manufacturer’s warranty. If your scooter is still within the warranty service period, we recommend contacting the manufacturer’s authorised workshop.
Safety is the most important thing when replacing a battery. If you do not follow the safety rules, you risk a short circuit, a fire or even the danger of an explosion. Always work with lithium-ion batteries following all precautions and safety requirements.
A detailed step by step battery replacement guide
Replacing an e-scooter battery differs depending on the model, but the main steps stay similar. In this guide we present the general process, paying attention to the particularities of the most popular models, such as the Xiaomi M365 and Ninebot-Segway.
1. Locating and opening the battery compartment
On most e-scooters the battery is built into the base platform, under the footboard. On some models (for example some Kugoo models) the battery may also be in the vertical stem.
- turn the scooter over onto a soft surface so you do not scratch the body
- find and remove the rubber covers over the screws (if there are any)
- undo the screws holding the bottom cover (on the Xiaomi M365 there are usually 6-10 screws)
- carefully remove the cover, paying attention to any cables connected to the cover
2. Disconnecting the existing battery
This stage needs the most care, because disconnecting the wires incorrectly can damage the electronic components.
- find the main connector that links the battery to the main controller
- before disconnecting, photograph or mark the wire layout so you know how to connect the new battery correctly later
- carefully disconnect the main connector without pulling on the wires (pull on the connectors themselves)
- disconnect any additional connectors (if there are any), such as the temperature sensor connector
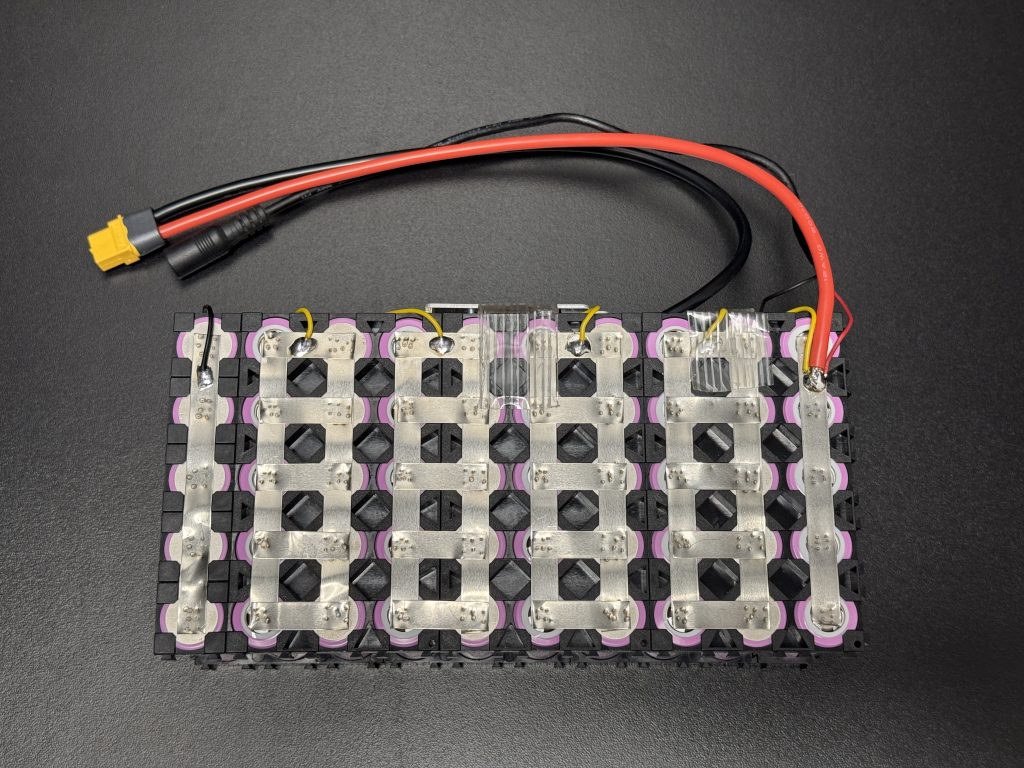
3. Removing the battery pack
- undo the screws holding the battery in place (usually 2-4 screws)
- check for additional fasteners, such as straps or brackets
- carefully lift the battery out, making sure it does not get stuck or snag on other components
- note the battery’s position and orientation so that you can fit the new battery exactly the same way
4. Preparing and installing the new battery
- unpack the new battery and check that its specifications match the characteristics of the original battery (voltage, capacity, dimensions)
- inspect it for any transport damage
- make sure the connector type and polarity match your scooter’s system
- carefully place the new battery into position, paying attention to its orientation
- secure the battery with screws or other fasteners
5. Connecting the new battery
- connect the main power connector, making sure the polarity is correct
- connect the additional connectors (temperature sensor, BMS communication and so on)
- make sure all the wires are neatly laid out and not pinched
- use a multimeter to check that the connections are made correctly and that the required voltage is present
6. Reassembly and the first test
- before putting the cover on, carefully switch the scooter on and check that the system recognises the new battery
- if everything works properly, switch the scooter off
- put the bottom cover back in place
- screw in all the screws (we recommend tightening them in a cross pattern so that the cover presses down evenly)
- put the rubber covers back over the screws (if there were any)
7. First charge and system calibration
- connect the scooter to the original charger
- let the battery charge fully (even if the indicator shows 100%, the first time we recommend leaving it charging for an extra hour)
- on some models, after a battery replacement it is recommended to reset the system following the manufacturer’s instructions
If your scooter has an app, connect the scooter and check that the system shows the correct battery status. Some scooter systems may need a few charge cycles to calibrate the battery indicators accurately.
NOTE: The old battery must be disposed of properly. Lithium-ion batteries are hazardous waste and must be taken to specialised collection points. Never throw old batteries away with household waste!
Tips after the battery replacement and the most common mistakes
After successfully replacing the battery, you may run into a few challenges, or you may simply want to optimise the life of the new battery. Here are the most important tips and an overview of the most common mistakes.
Testing and monitoring after the battery replacement
- after the first full charge, take a short test ride on level ground, watching the battery indicators
- during the first 2-3 charge cycles, we recommend using the scooter in medium modes, avoiding top speed or full power
- monitor how warm the battery gets: a new battery should not get very hot during normal use
- pay attention to unusual noises or vibrations while riding
Battery calibration
For many lithium-ion batteries, calibration during the first few cycles of use is recommended:
- charge the battery fully
- ride until the battery is almost completely drained (down to 5-10%)
- leave the scooter switched off for 1-2 hours
- charge it fully again without interrupting the charging process
- repeat this cycle 2-3 times
This way the battery management system (BMS) calibrates the battery status readings accurately.
The most common mistakes when replacing a battery
- Overtightening the screws: you can damage plastic components or even the battery itself
- Damaging the connectors: by pulling on the wires instead of the connectors themselves
- Not resetting the battery management system: for some models a system restart is necessary after a battery replacement
- Incorrect wire routing: if you force the wires into the wrong position, they can wear through or get pinched
- Not checking the insulation properly: you need to make sure metal parts do not touch the battery contacts
- Using a battery with the wrong specifications: using a battery with the wrong voltage or capacity can damage the control systems
Tips for extending the life of the new battery
To make sure the new battery lasts longer:
- avoid fully discharging the battery: it is best to charge when it shows 20-30% remaining
- avoid leaving the scooter for a long time with a fully charged or fully discharged battery
- if it will not be used for a long time (for example in winter), keep the battery at about 40-60% charge
- avoid extreme temperatures: do not leave the scooter in direct sunlight or in the cold
- use only the original charger or the one recommended by the manufacturer
- check the scooter’s electrical system regularly so you notice any possible problems in time
Regular maintenance of the electrical system and proper use of the scooter can significantly extend the life of the new battery. It is also worth remembering that a battery replacement is a great opportunity for a general inspection and preventive maintenance of the scooter.
Summary
Replacing an e-scooter battery can be quite a simple process if you follow the instructions and safety requirements carefully. Replacing the battery yourself not only saves money but also lets you better understand how your vehicle works. However, it is important to accept that in some cases, especially when the scooter has a complex electronics system or an integrated battery, it is better to turn to professionals.
A new battery can give your electric scooter back its former performance and range, but remember that its service life will also depend on proper care and usage habits.
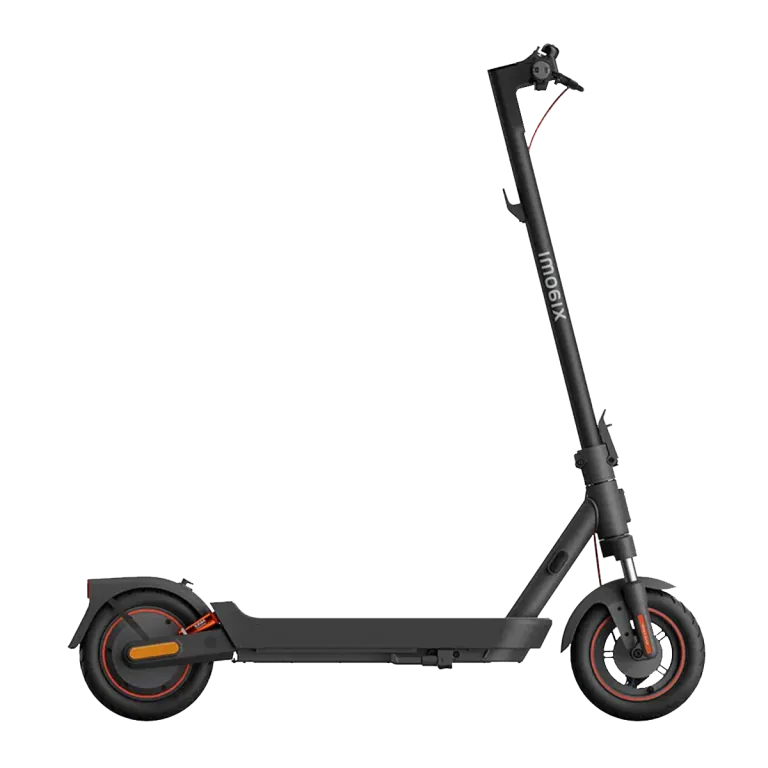
Check the battery condition regularly, stick to a proper charging routine and watch for unusual signs that may signal problems.
With proper care, your e-scooter with a new battery can serve for many more years, giving you an economical, eco-friendly and enjoyable riding experience.
Frequently asked questions
How often should you replace an e-scooter battery?
Many lithium-ion batteries used in electric scooters last about 300-500 full charge cycles (2-4 years of regular use). The service life depends on maintenance and riding habits.
Can you install a higher capacity battery?
In some cases yes, but you must check the voltage, compatibility and legal restrictions before making such an upgrade.
Is it safe to replace the battery yourself, or is it better to turn to specialists?
Replacing a battery can be safe if you follow the instructions exactly and use the right tools. If you are not sure, or it could affect the warranty, it is better to turn to professionals.
What should you do with the old battery?
Lithium batteries must always be recycled at certified electronic waste centres. Never throw them away with household waste.
Why does my scooter not switch on after the battery replacement?
Check that all the connectors are securely connected, make sure the battery is properly installed, and look through the manufacturer’s troubleshooting guide if the problems persist.
